How to Use Cricut EasyPress 2: Tips for Perfect Heat Transfers
Many of you were eager to learn how to use Cricut EasyPress 2. Today, I finally came up with this tutorial in which I am going to make a T-shirt. My purpose in selecting this project was to explain to you the process of using the Cricut EasyPress 2 Heat Press machine.
You won’t believe how
passionate I am about creating T-shirts. Every time, I make one personalized
shirt for myself or my friends. They appreciate the creativity I add to the
design. But today, I will create a T-shirt for my mommy. For me, this project is
special because my mom has recently started her new business, and I want to
appreciate her with my crafting skills.
In contrast, I will explain
each step thoroughly so that you can learn how to make a shirt with the help of
EasyPress 2 and how to transfer the iron-on design. Besides, we will start by
gathering supplies first. Let’s proceed to learn more!
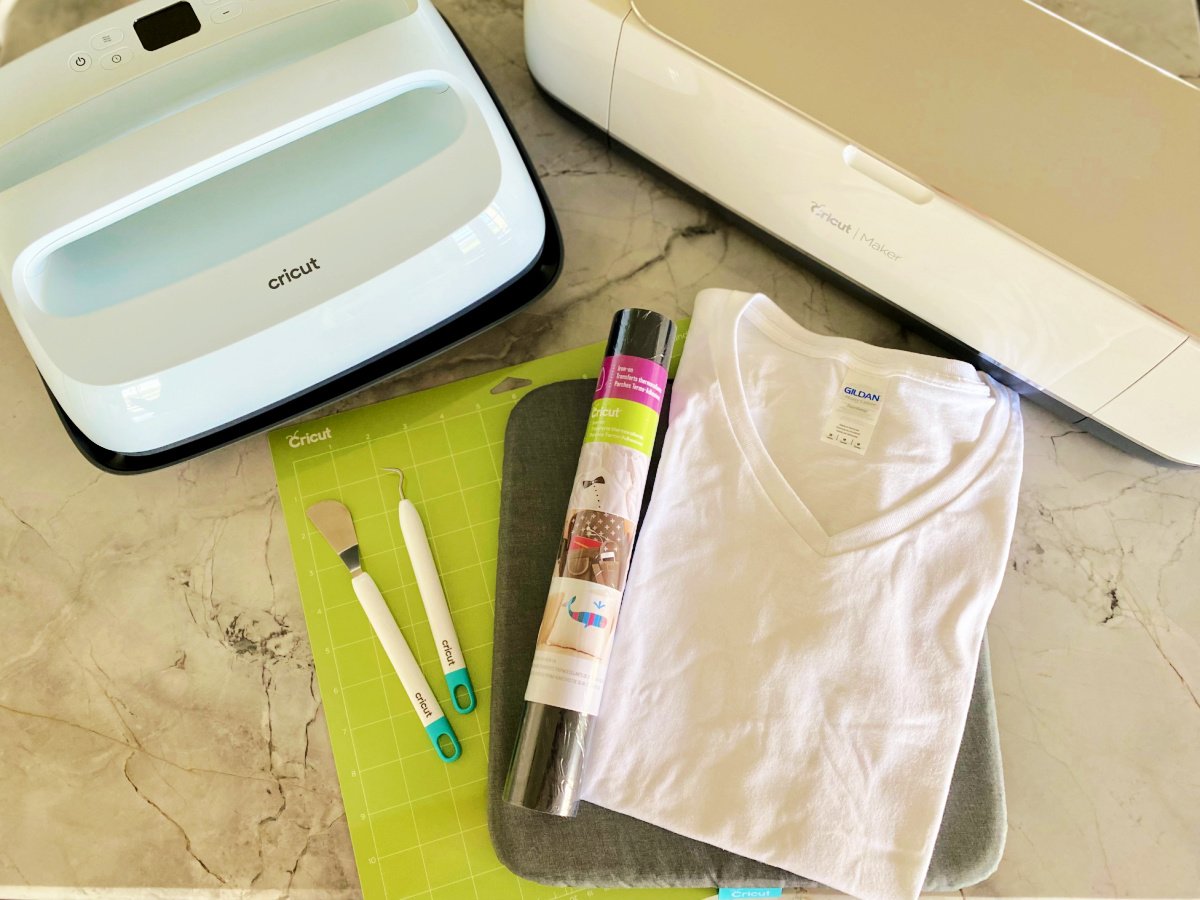
Step 1: Gather Essential
Supplies

Initially, we will need to
ensure whether we have enough items to make this project or not. If not, then
you will need to arrange them first. Below, I am providing some essential
supplies that are mandatory for making shirts:
●
Cricut
Cutting Machine
●
Design
Space
●
Heat
Guide
●
Standard
Grip Cutting Mat
●
Everyday
Iron-On
●
Premium
Fine Point blade or Fine Point
●
Iron-On
Protective Sheet (optional)
●
Weeding
tools
●
EasyPress
2
●
T-Shirt
Blank.
Now, I have given you the
list of all supplies needed to create a shirt. Let’s move to the second step,
where you will learn how to set the timer and temperature. This step is a must
before you learn how to use Cricut
EasyPress 2.
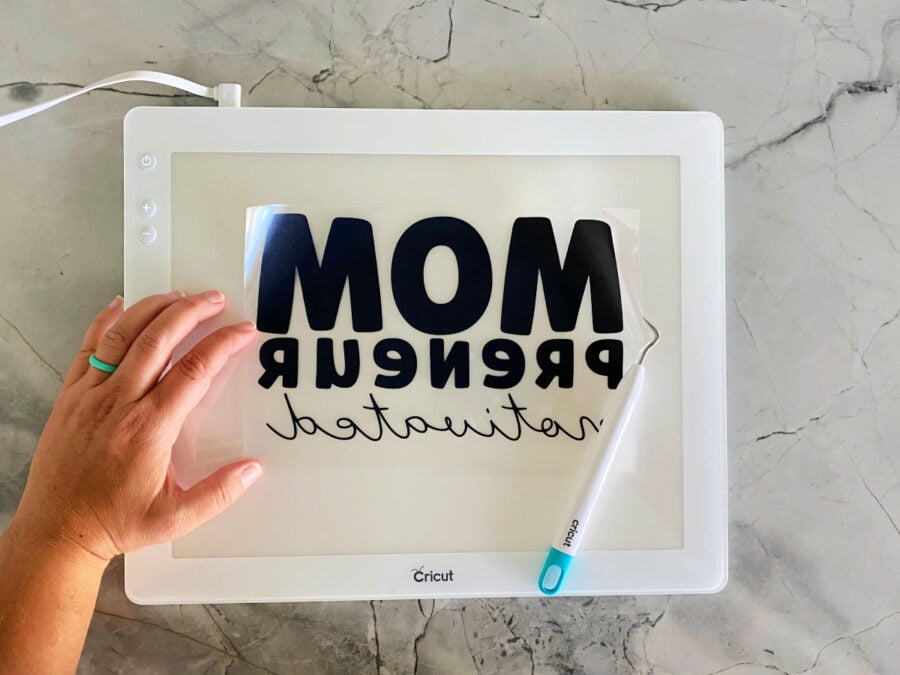
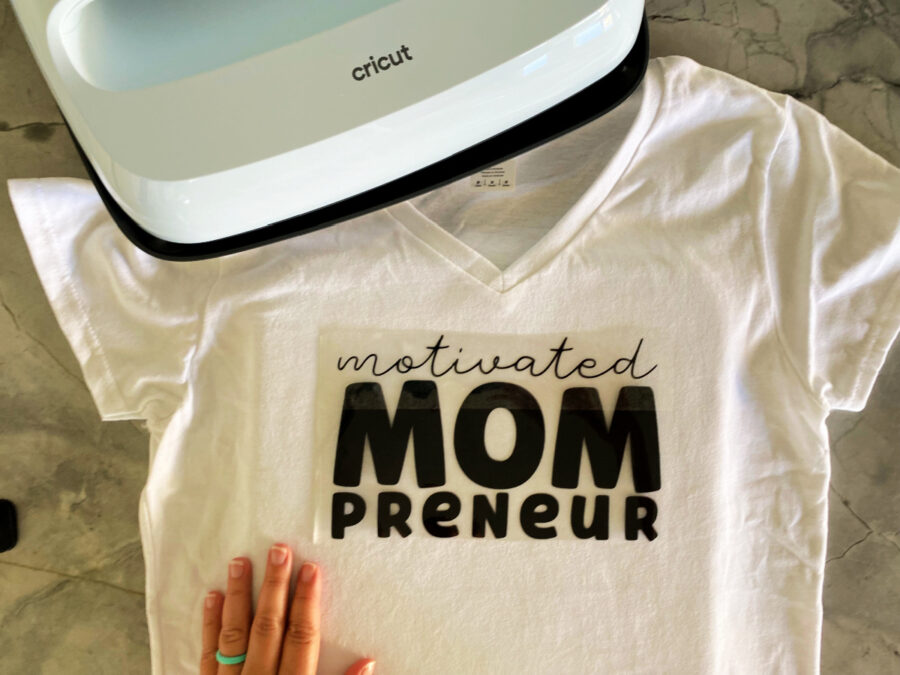
Step 2: Prepare Your Design
Here’s the simple design that
I have created: no image and no complex graphics, just simple text: Motivated Mom Primeur. You can also
try similar text using your Cricut Design Space.

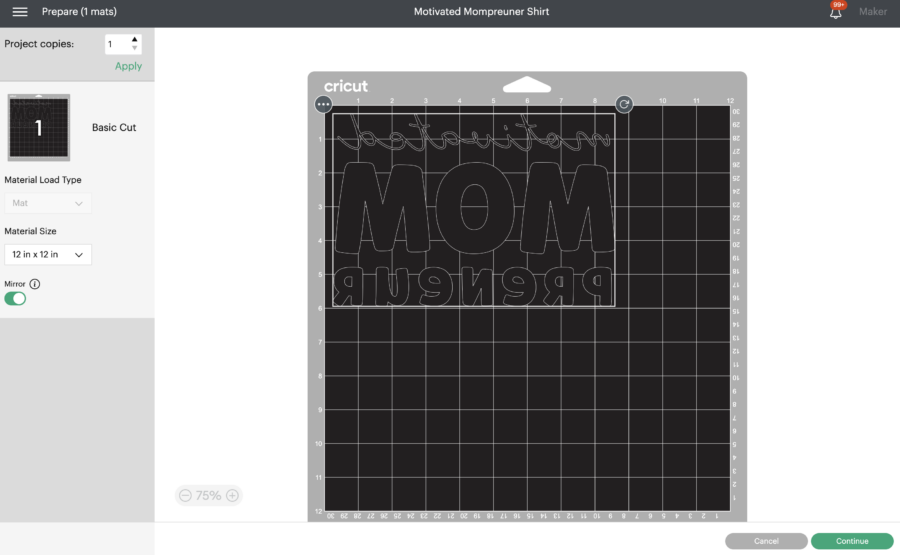
Next, you have to resize your
design so that it easily fits your T-shirt.

Don’t forget to mirror your
design. Then, you need to select Everyday Iron-on from the given list of
materials on Design Space. Set your Explore cutting machine dial to the Custom.
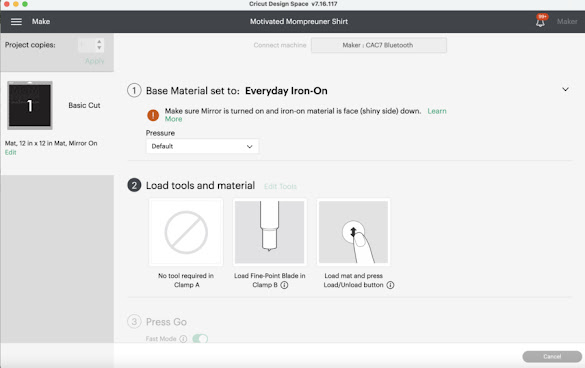
After that, place the mat
onto the StandardGrip cutting mat. Now, load it into the machine. Next, select
the Go button after the light
blinks. After cutting, weed the material using Bright Pad and the weeding tool.

Then, we cut the iron-on
design. Let’s set the timer and temperature then I will show you how to use Cricut EasyPress 2.
Step 3: Set the Timer and
Temperature
The following steps will help
you set the timer and temperature according to your materials. Follow the steps
one by one:
- First, you have to use the Cricut Heat Guide to complete the project settings.
- Next, you will need to press the Timer icon button.
- Then, use the +
and - buttons to adjust the
recommended time.

- Afterward,
you will have to press the Temperature
icon.

- Again, use the same + and - buttons to
adjust the required temperature.
- Now, you will notice the orange light, indicating
your EasyPress 2 is heating up. At the same time, the green light
indicates that its temperature has reached the set limit.
- Finally, you will hear a beep sound, meaning you are
ready to use it.
After this step, you will
need to press your iron-on design onto your blank T-shirt. Once done, move to
the next step to learn how to use Cricut
EasyPress 2.
Step 4: Apply Iron-on Design with
Cricut EasyPress 2
Whenever you are going to use
this EasyPress, you have to make sure you are using the device at room
temperature. At the same time, your fabrics and other base materials must be
dry. Once you have ensured these, you can move to the following steps to transfer
your design onto a T-shirt.
Before following the steps
below, make sure you have followed all the instructions included in step 3.
Here’s the step to transfer the iron-on design on a blank T-shirt:
- Once your EasyPress is ready, you need to preheat
your blank to 315° for 5 seconds. This temperature is recommended for a
100% pure cotton shirt. Other materials might have different temperatures.
- After that, place your weeded cut design onto your
shirt (the sticky side should be face down).

- Next, place your EasyPress 2 on the iron-on and
press it for 30 seconds with gentle pressure.
- Now, you need to flip over the shirt to repeat the
same process from the back side.
- Let it cool, and then peel off the plastic sheet.
This is what my mom’s new
shirt looks like!

Conclusion
In this guide, I have taught how to use Cricut EasyPress 2. This
guide is going to be really helpful for beginners who don’t know the use of
this innovative device. In this guide, I explained the use of EasyPress with
the help of a simple project, i.e., I made a shirt for my mom. With this guide,
everyone, including those who are not much into crafting can also learn how to
use this particular device. Now, create something on your own!
FAQs
Question 1: What can I do
with Cricut EasyPress 2?
Answer: The
Cricut EasyPress 2 family is compatible with various brands, such as
heat-transfer vinyl and iron-on transfers. All three sizes of EasyPress are
suitable for iron-on projects. So, no matter what you are going to make, this
innovative device is capable of transferring designs on baby gear, hats,
T-shirts, bags, blankets, and much more.
Question 2: Is it necessary
to use a heat mat with my Cricut EasyPress 2?
Answer: Using
a Cricut heat mat has its own benefits, as it provides the proper flat surface
that helps to transfer the design evenly onto the blank. However, for infusible
ink, you should always try to keep the mat. Although there are other
alternatives that you can try, it will not offer a flat, even surface. Hence,
it is advisable to use the EasyPress mat.
Question 3: Can I use a
regular iron instead of a Cricut EasyPress 2?
Answer: No, I
would not recommend anyone to use a household iron for transferring the vinyl
design on their blank. This is because it might ruin the vinyl design. In
addition, different materials, such as cotton, linen, etc., require the
temperature accordingly. In simpler terms, you can’t use the same temperature
for all types of material. Hence, the
Cricut EasyPress 2 Heat Press machine is
capable of adjusting the time and temperature according to the material. That
is why EasyPress is recommended over regular iron.


Comments
Post a Comment